Live DemoMara Vale’s read-only sample dashboard
Mara Vale Help & Guide
Parlors Point of Sale

Help & Guide

Demo · Mara Vale
Parlors POS Help

Everything you need to run Parlors POS

This guide explains the system in plain English. Start with the setup checklist, then open any section whenever you need a reminder.

New here? Do these first.
  1. Finish your public profile.
  2. Add your services and prices.
  3. Set your booking hours, then choose a deposit rule for each service.
  4. Preview and share your booking page.
  5. Register with North when you are ready to accept card payments.
1
First Setup

Get your account ready

Set this up once, then update it whenever your work, prices, or schedule changes.

Build your public profile

This is the page clients see. Add a profile photo, cover photo, bio, city, specialties, Instagram, website, booking introduction, and examples of your work.

  1. Open Public Profile.
  2. Add your photos and artist information.
  3. Upload portfolio images one at a time.
  4. Tap Preview Profile to see what clients see.
Edit Public Profile

Add services and prices

Services are the choices clients see while booking and the choices you see in the Mobile POS.

  1. Open Services and tap + Add Service.
  2. Enter the name, description, duration, price, and deposit settings.
  3. Use Fixed, Starting at, Hourly, or Consultation to explain the price.
  4. Tap an existing service whenever you need to edit, duplicate, or delete it.
Manage Services

Finish your main settings

Settings controls your artist name, public booking address, studio information, timezone, sales tax, and the hours clients can request.

  • Booking URL: the unique link for your public page.
  • Timezone: keeps appointments and reports on your local time.
  • Sales tax: turn tax collection on and enter your combined state and local rate. Tax applies to service payments and deposits, not tips.
  • Service deposits: set no deposit, a fixed amount, a percentage, or full payment on each item in Services.
  • Weekly availability: turn working days on and enter the hours clients may book.

Important: Tap the Save button in each settings section after making changes.

Open Settings

Connect card payments when you’re ready

You can explore and set up the complete Parlors POS system before registering for payment processing. When you are ready, open the North card on your Dashboard and choose Register When Ready.

  1. Complete North’s simple four-part application.
  2. Provide personal, business, processing-estimate, and payout-bank information directly to North.
  3. Watch the Dashboard status change from Ready to Begin to Under Review, then Active.

Your information stays secure: Banking and identity details go directly to North and are not stored by Parlors POS.

2
Online Booking

How clients book with you

Your public profile works as your portfolio, service menu, and booking page.

  1. You share your booking link.Copy it from the Dashboard and send it by text, email, social media, or your website.
  2. The client chooses a service.They pick an available date and time and enter their contact and tattoo details.
  3. The client submits payment when required.Each service’s deposit rule decides whether they owe nothing, a fixed deposit, a percentage, or the full service price. A required-payment time is held for up to 30 minutes and confirms after successful payment; no-deposit bookings confirm immediately.
  4. The appointment appears in Appointments.Open it to see the client, tattoo details, reference images, payment information, remaining balance, and appointment status.
Before sharing your linkPreview your public profile and make one test booking so you can see the same steps your clients will see.View Public Profile
3
Calendar

Manage appointments and your time

Appointments keeps online bookings, appointments you create, unavailable time, client details, and balances together.

Review an appointment

Tap an appointment to open its full details. You can review contact information, placement, size, style, budget, description, reference images, quoted price, deposits, tips, and the remaining balance.

Pending Payment means a required booking payment has not completed. Update active appointments to Confirmed, Completed, Cancelled, or No Show so your records stay accurate.

Create an appointment yourself

Use Create Appointment when a client books by phone, message, or in person. Enter the client, service, date, time, duration, quoted total, and notes. Saving it removes that time from online availability.

Reserve unavailable time

Use Reserve Time for lunch, travel, personal time, consultations, or days the studio is closed. Clients cannot book over a reserved block. Your notes remain private.

Collect a remaining balance

Open the appointment and tap Collect Remaining Balance. Parlors POS sends the client and unpaid amount into Mobile POS so you do not need to calculate or re-enter it.

Open Appointments
4
Mobile POS

Take an in-person payment

Create the sale on your phone, then let the client securely pay from theirs.

  1. Open POS.Use the center POS button in the bottom navigation.
  2. Enter the client and charge.Choose a saved service or Custom Amount. Add an optional note for your records.
  3. Choose how they are paying.Use Create Payment QR Code for a card payment, or Pay with Cash to record a cash sale immediately.
  4. For card payments, let the client scan and pay.The QR/card price includes the 4% card price adjustment. The client chooses an optional tip and completes North’s secure checkout on their phone. Cash payments never leave Parlors POS.
  5. Confirm the payment.Open Transactions and look for a Paid status. Do not treat Created or Pending as a completed payment.
Plain & transparent pricing

How booking fees and cash discount pricing work

Every card transaction has an unavoidable 3.85% merchant processing fee charged by North. Parlors POS keeps that required cost from reducing your earnings by adding a 4% booking fee to online card payments and using the same 4% in-person card price with a cash discount.

Your service price $100.00 The amount you intend to earn.
Booking / card fee $4.00 4% added when paying by card.
Client card total $104.00 The unavoidable 3.85% merchant fee is covered.

The unavoidable card fee is paid by the client—not deducted from your service price.Online payments include the booking fee. In person, paying cash applies the cash discount and returns the total to your normal service price.

Service price or custom amount?

Choose a service when its saved price is correct. Choose Custom Amount when the final tattoo price is different. The minimum charge is $0.50.

If the QR will not generate

Make sure the client name is entered, a valid service or Custom Amount is selected, and the charge is at least $0.50. Live QR payments require an active North account. Cash payments can still be recorded before card activation.

Open Mobile POS
5
Customers

Keep client records organized

Clients are added automatically from appointments and POS sales.

Open a client to edit their name, phone, email, preferred style, preferred placement, and private notes. You can also upload reference photos, healed work, design ideas, or other useful images and choose a profile photo.

The client page combines appointment history and completed Mobile POS activity, including visit count and lifetime value. Archive a client to remove them from active use without deleting their record; archived clients can be restored later.

View Customers
6
Transactions

Find and download payment records

Transactions shows online booking payments and Mobile POS payments in one place.

Understand payment status

  • Paid: the payment completed successfully.
  • Created or Pending: checkout started but payment is not confirmed.
  • Failed: the payment did not complete.
  • Refunded or Voided: the original payment is no longer an active sale.

Search, filter, print, or download

Search by client, service, transaction number, appointment number, processor number, or notes. Filter by date, status, source, payment type, or live/test environment.

Use Download CSV for a spreadsheet or Print Report for a printable copy.

View Transactions
8
Top Tier Support

Get help directly inside Parlors POS

Support is a private conversation between you and Parlors POS support.

Send a message anytime

Open More, choose Top Tier Support, describe what you need, and tap Send for Help!. Questions big or small are welcome.

Keep the conversation together

Replies stay in the same private thread so you can return to the page, review earlier messages, and continue the conversation without starting over.

Open Top Tier Support
Install On Your Phone

Add Parlors POS to your Home Screen

This gives Parlors POS its own icon and lets you open it like an app. You do not need an app store or a download.

Chrome

Chrome on iPhone

  1. Open parlorspos.com/dashboard in Chrome.
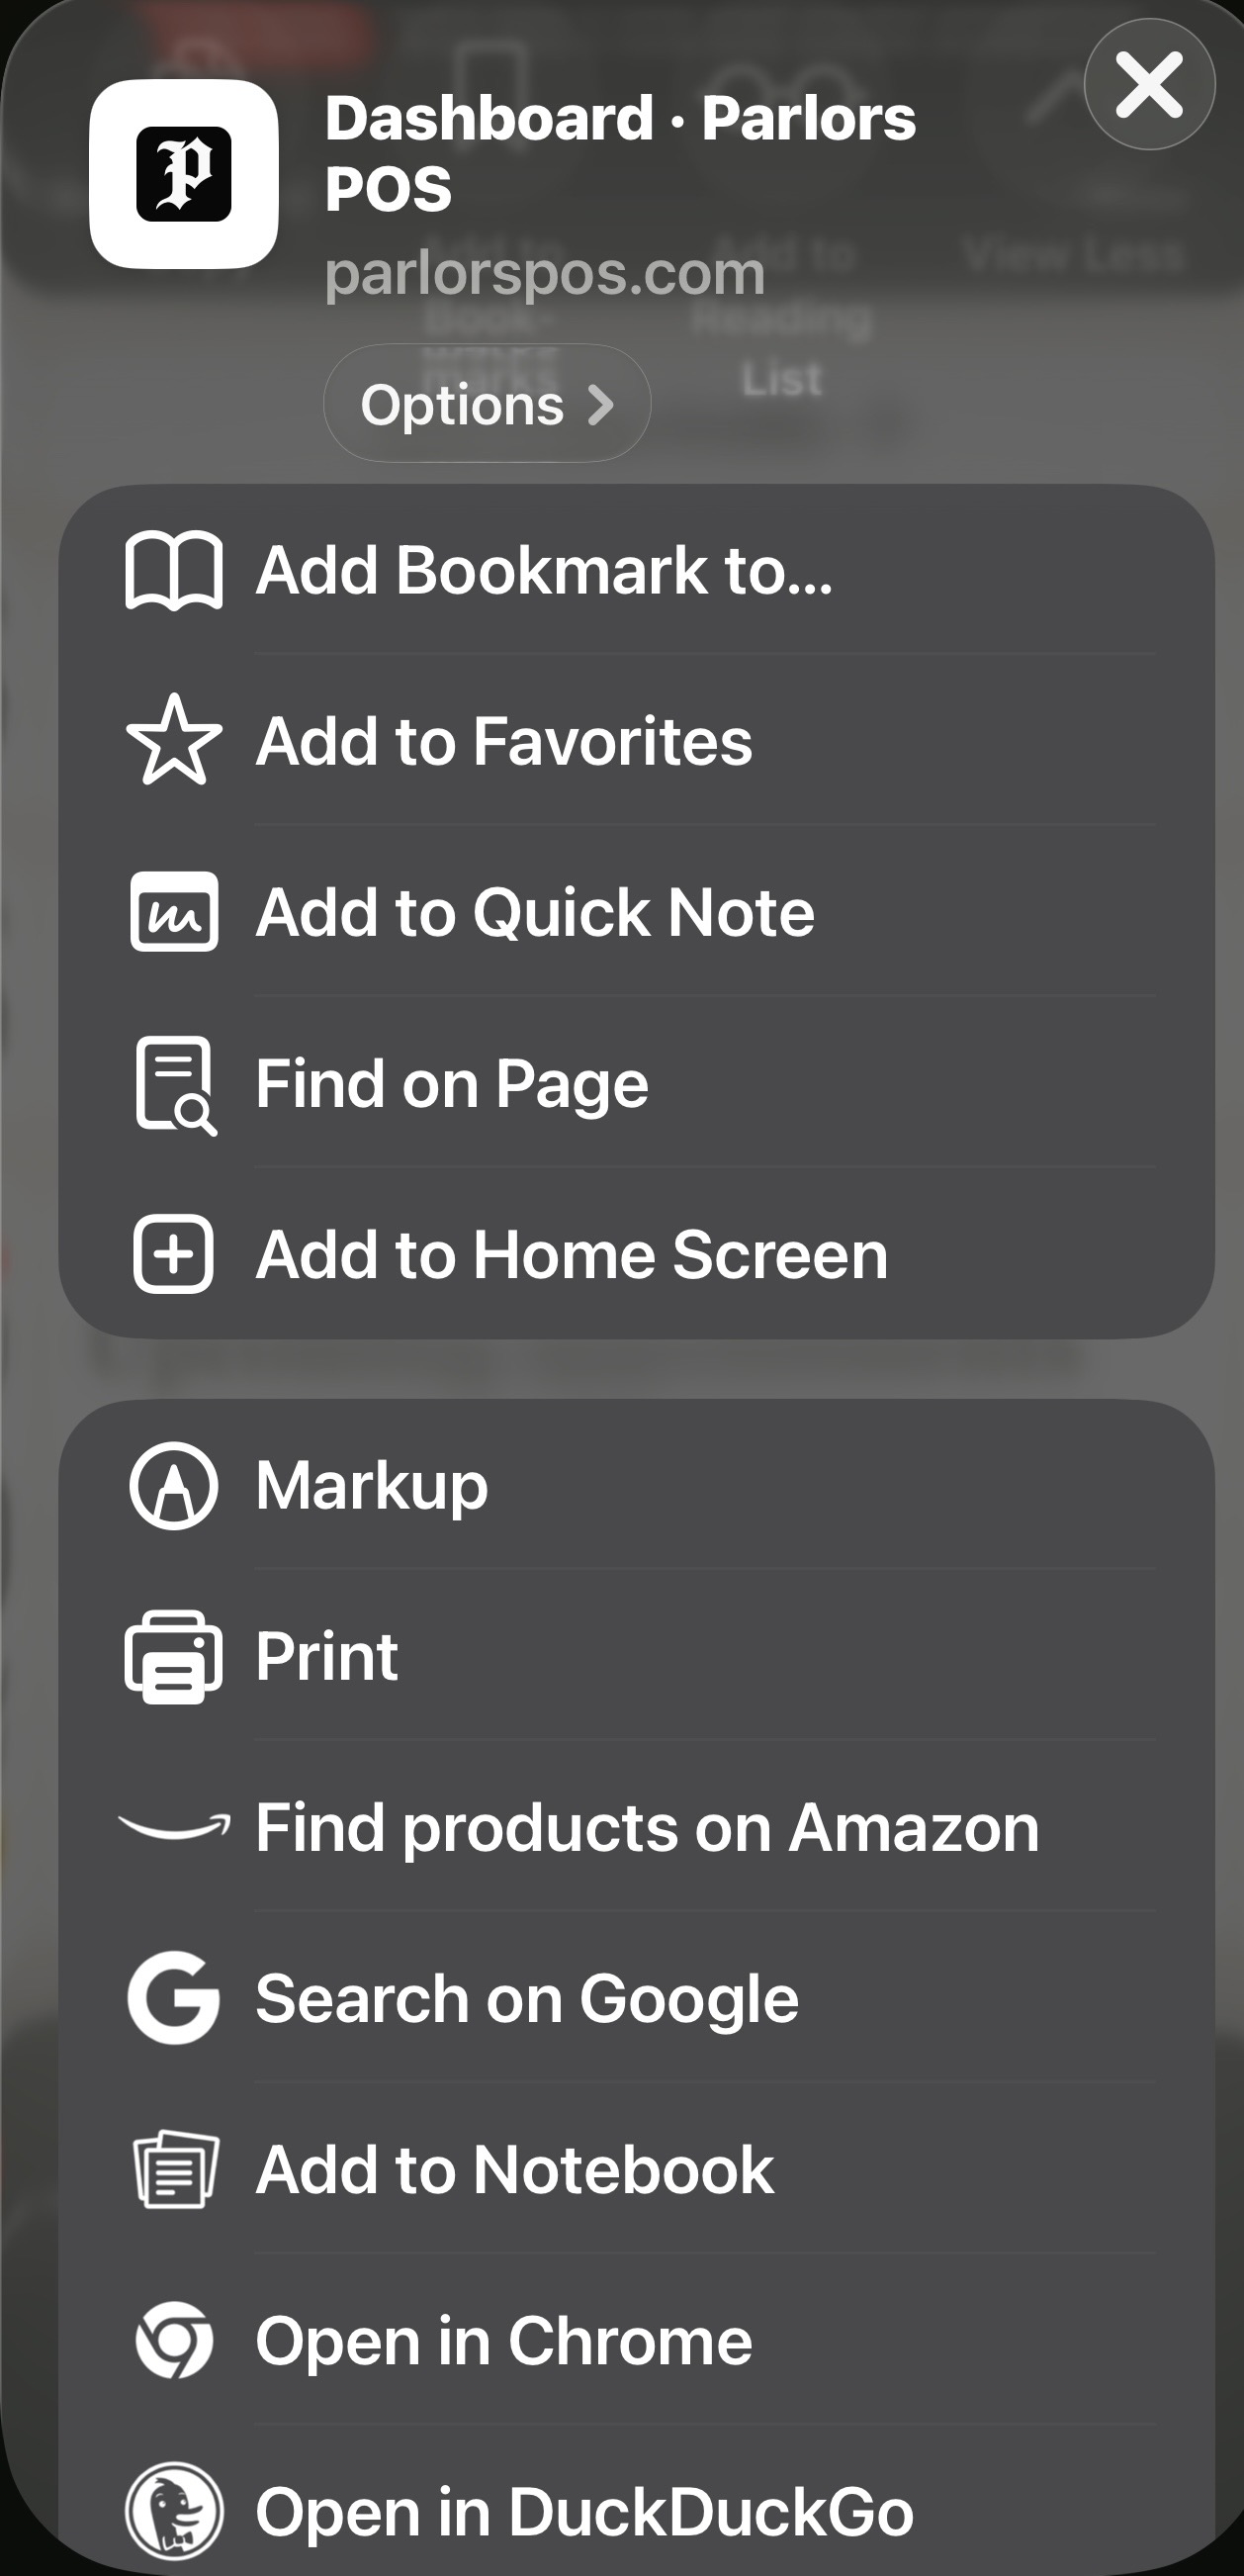
  2. Open the Chrome menu.
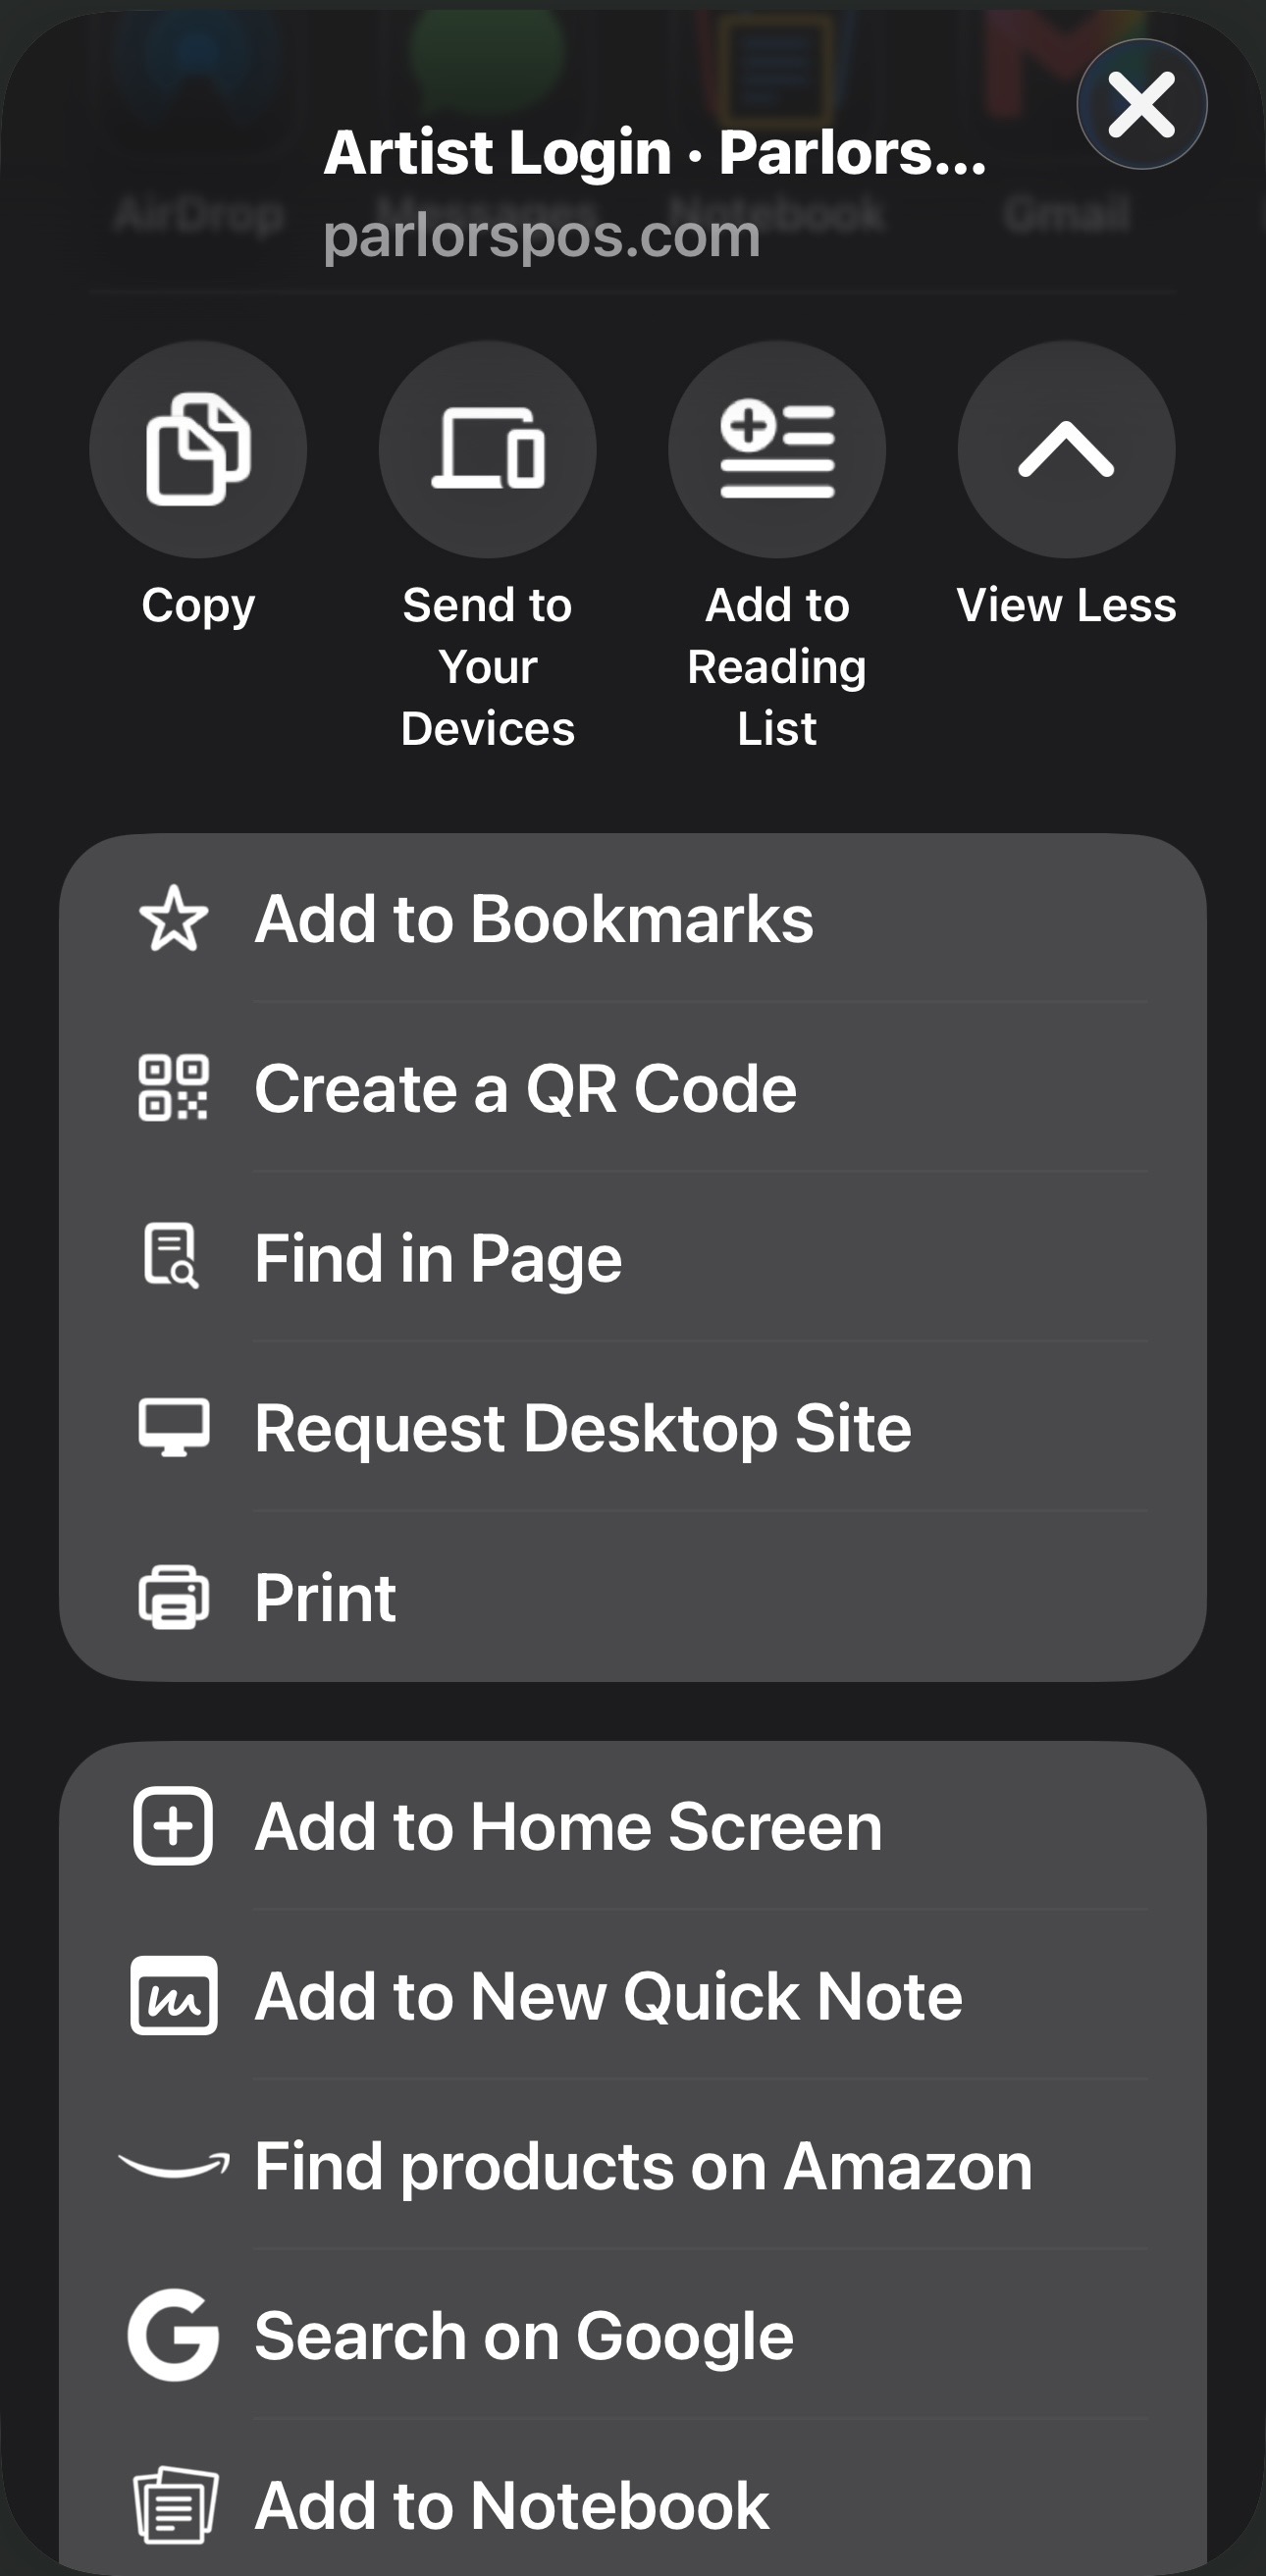
  3. Tap Add to Home Screen.
  4. Confirm Parlors POS, then tap Add.
Chrome menu showing Add to Home Screen for Parlors POS
Safari

Safari on iPhone

  1. Open parlorspos.com/dashboard in Safari.
  2. Tap the Safari Share button.
  3. Scroll down and tap Add to Home Screen.
  4. Confirm Parlors POS, then tap Add.
Safari share menu showing Add to Home Screen for Parlors POS
Finished

Launch it from your Home Screen

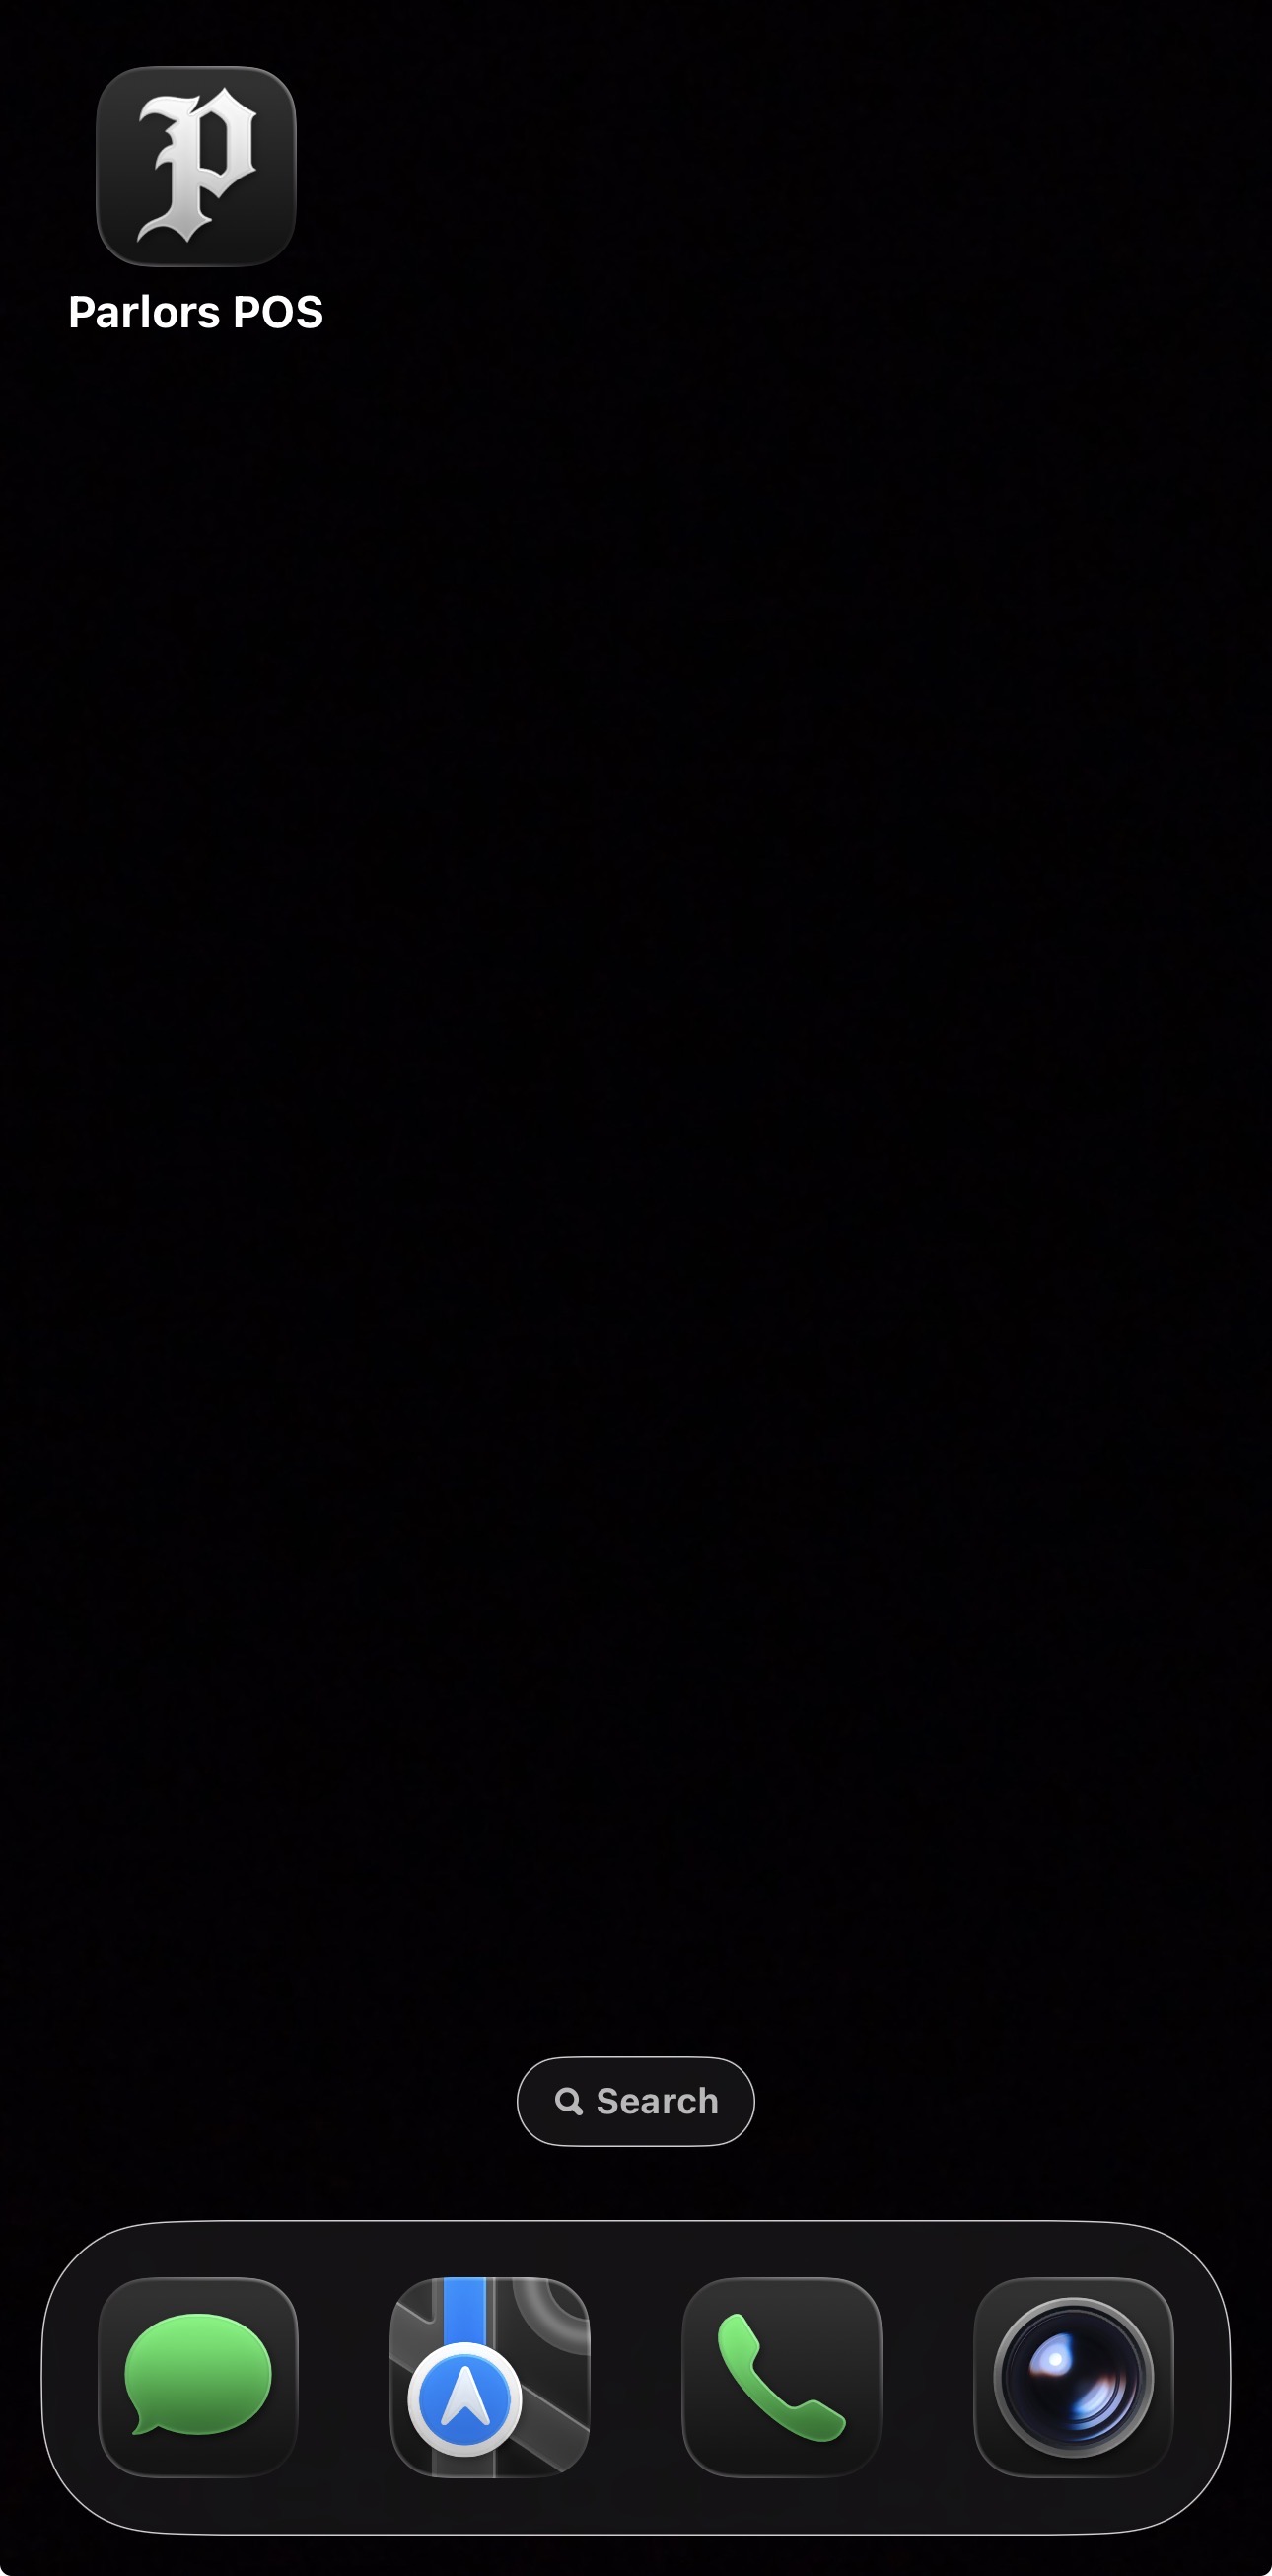
Tap the Parlors POS icon anytime to open your dashboard. Stay signed in on a personal device so it is ready when you need it.

Parlors POS icon installed on an iPhone Home Screen
Quick Reminder

Your safest everyday flow

Keep your services, prices, hours, and profile current. Review every appointment before the session. For card payments, always confirm that the transaction says Paid before considering checkout complete. Created, Pending, and Failed are not completed payments.